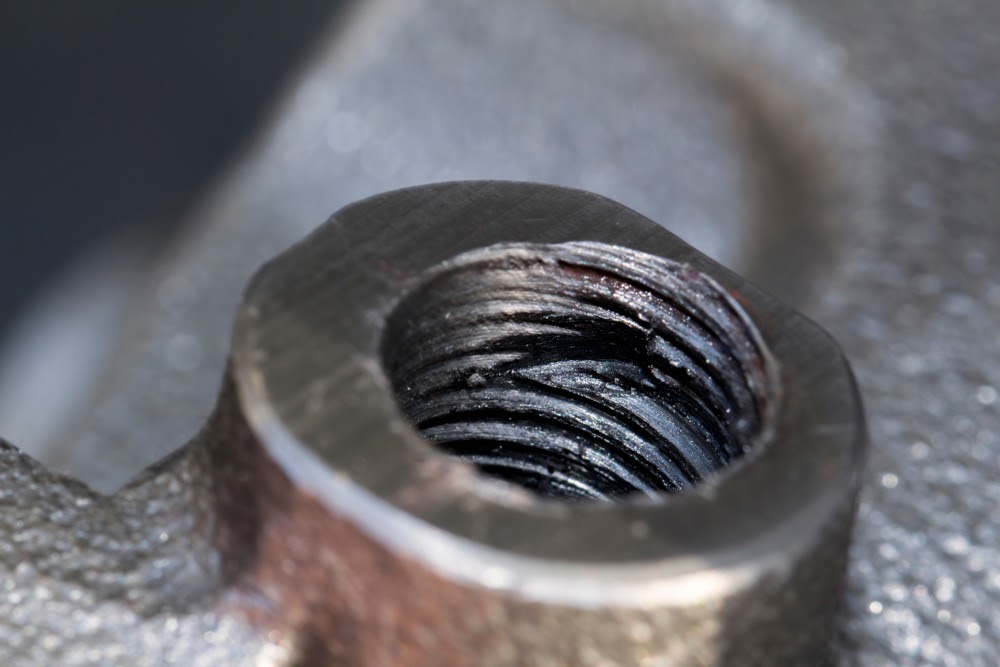
Deformation is the loss of the regular, natural, or standard shape of a component, part, or element. For a body to be considered deformed, it must be compared with its regular state. The inspector must take that regular state from:
- A photo or plan of the body.
- Similar items.
- Geometric strokes or standard part shapes.

Causes
The most common causes of deformation detectable by visual inspection are:
- Continued overstrain.
- Thermal expansion.
- Wear of the material.
- Bad foundation, hold, or anchor.
- Bad assembly.
- Hits.
Cases
Through visual inspections the most common cases of deformation that are diagnosed are:
- Ducts.
- Pipelines.
- Welded joints.
- Tanks.
- Guards and housings.
- Covers and covers.
- Rails.
- Wheels.
- Rollers.
- Pulleys.
- Frills.
- Electrical insulators.
- Heat exchangers.
- Floors.
- Facades.
Diagnosis
The detection of the deformation in visual inspections is by means of direct observation, measurement, or verification of regularity (flatness, straightness, perpendicularity, or roundness).
Points to consider:
- When the deformation is in a structure it is better to diagnose a structural problem.
- The visual inspection includes the regularity check (flatness, straightness, perpendicularity, or roundness) by means of basic instrumentation that the inspector carries with him (ruler, vernier calipers, strings). If precision instrumentation is required, it should be done outside of a routine visual inspection.
